Press Forming Silver (for Jewellery)
- Aug 16, 2017
- 3 min read
I’ve had a lot of fun carving wax to make 3D forms lately but it’s been a while since I did any press forming to make a piece. This week I started a pebble shaped pendant that will be set with a constellation of topaz and diamonds. I made a note to document the process, to show my press forming method:

Press Tools in MDF and Acrylic
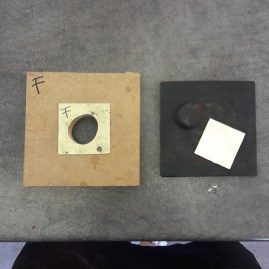
Press Tools:
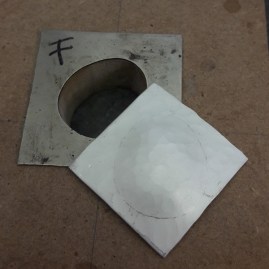
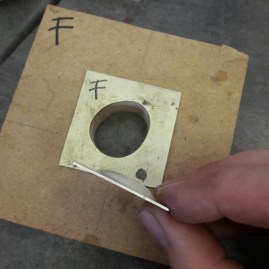
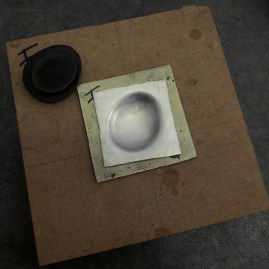
I make press tools from MDF, which is easy to saw, or acrylic sheet, which is not so easy. The heat from sawing continually sticks the saw blade into acrylic (which can be incredibly frustrating) so for short runs/one off moulds I use MDF instead. I re-enforce both materials with nickel sheet, it’s tougher than silver and gives a nice, crisp edge to your forms.
Silver for Press Forming:
Press formed work can be made in silver, copper, brass and a lot of other metals. The harder the metal the tougher a press tool you’ll need to work with it. I find that sterling silver doesn’t stretch that well under the pressure which I can apply with a hand operated fly press so I use Britannia silver instead. Britannia has extra stretch/flexibility and is legally hallmark-able in the UK.
Pressing:
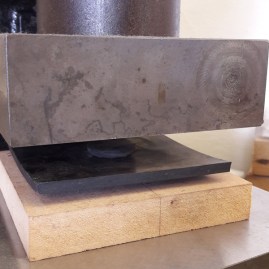
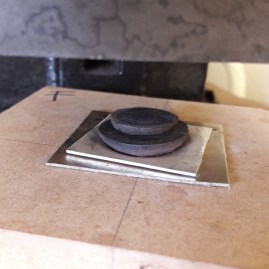
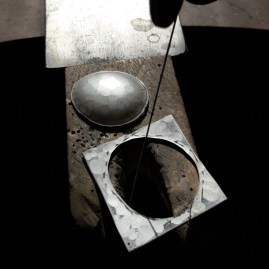
I tend to go softly, softly with press work, building up the depth of the piece over several pressings instead of trying to stretch the whole thing in one go. I start with annealed silver sheet (this particular piece is also pre-textured) and sandwich it between the press tool and a sheet of firm rubber. Above this I add some cut down rubber, around the size of the mould, to give an extra push into the press tool.
Once I’ve got things started I’ll change around the positions of the rubber pressing pieces. I move the smaller, shaped pieces of rubber into the dips in the silver and then cover them with the larger sheet. I then press this, which forces the depression in the silver deeper:
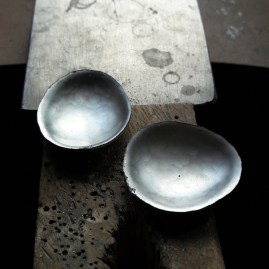
As I go along I measure the depth of the pressed silver using a vernier gauge, ensuring that I’m pressing each half symmetrically for an even shape. I like the two halves to be symmetrical but I judge by eye when I feel that the shape has gone deep enough.
Cutting out the pieces:
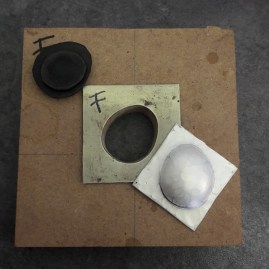
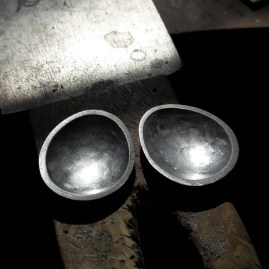
Next step is to cut the pressed forms from the silver sheet, allowing the silhouette that I’ve been working on to appear. This part is always a little magical, until you get to the filing! I file the excess metal off the back of the cut-outs, removing the blocky edge from them and allowing them to join together smoothly.
Soldering Pressed Forms:
Soldering together and then reheating a hollow form isn’t advisable, you run the risk of exploding the solder joint as the trapped air expands on the second re-heat. This usually means that I put a couple of discreet drill holes on the back of a piece, to allow air to escape, but this particular pendant will be stone set so I can drill the setting holes in advance and solve the problem that way.
I stick solder the two halves together, keeping as much excess solder off the front and back faces as possible.
Cleaning Up:
After that I clean up the solder joint, fit a loop for the pendant chain and finish off adding drill holes/texture to the front of the piece. It’s now ready to hallmark (by laser, to avoid crushing anything) and set. Look out for the finished article appearing on the commissions page soon.


















Comments